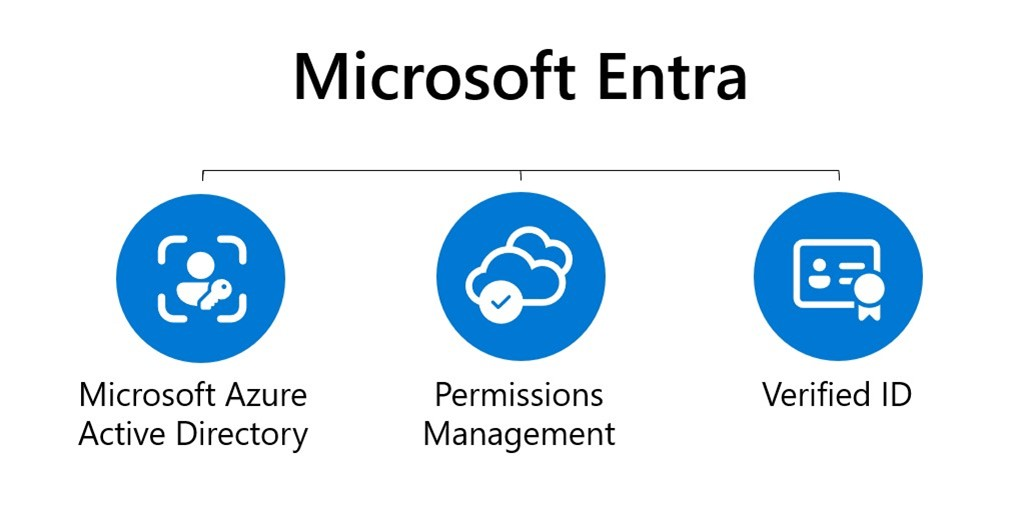
Microsoft's Protected Actions in Microsoft Entra ID adds an extra security layer, preventing accidental or unauthorized deletions of users, groups, and applications. Here’s a step-by-step guide to enabling and configuring Protected Actions in your organization.
Step 1: Sign in to Microsoft Entra Admin Center
Open your web browser and go to the Microsoft Entra Admin
Center: https://entra.microsoft.com.
Sign in with Global Administrator or Privileged Role
Administrator credentials.
Step 2: Access the Protected Actions Settings
In the Microsoft Entra Admin Center, navigate to:
Identity > Protection > Protected Actions.
Here, you’ll see a list of actions that can be protected,
such as:
Hard Deletion of Users
Hard Deletion of Groups
Hard Deletion of Applications
Step 3: Configure Protected Actions Policies
Select the action you want to protect (e.g., "Hard
Delete User").
Click Edit Policy and choose the level of protection:
Require Extra Authentication: Users attempting deletion must
verify their identity using MFA (Multi-Factor Authentication).
Require Administrator Approval: Only specific roles (like
Global Admins) can approve deletions.
Click Save to apply the changes.
Step 4: Assign Role-Based Access Control (RBAC)
To ensure only authorized personnel can bypass Protected Actions, assign specific roles:
Go to Microsoft Entra ID > Roles & Administrators.
Select a role (e.g., Security Administrator).
Assign users or groups who can override protected actions.
Step 5: Monitor & Audit Protected Actions
Navigate to Microsoft Entra ID > Monitoring &
Reports.
Click on Audit Logs to track any attempted deletions and
approvals.
If needed, set up alerts in Microsoft Defender for Identity
to notify security teams of unauthorized attempts.
By enabling Protected Actions, organizations can prevent
accidental data loss, enhance security posture, and maintain compliance. This
feature is crucial for Zero Trust security models, ensuring that sensitive
identities remain protected from unauthorized modifications.


0 Comments